Quick Start Guide
Add New Tenant
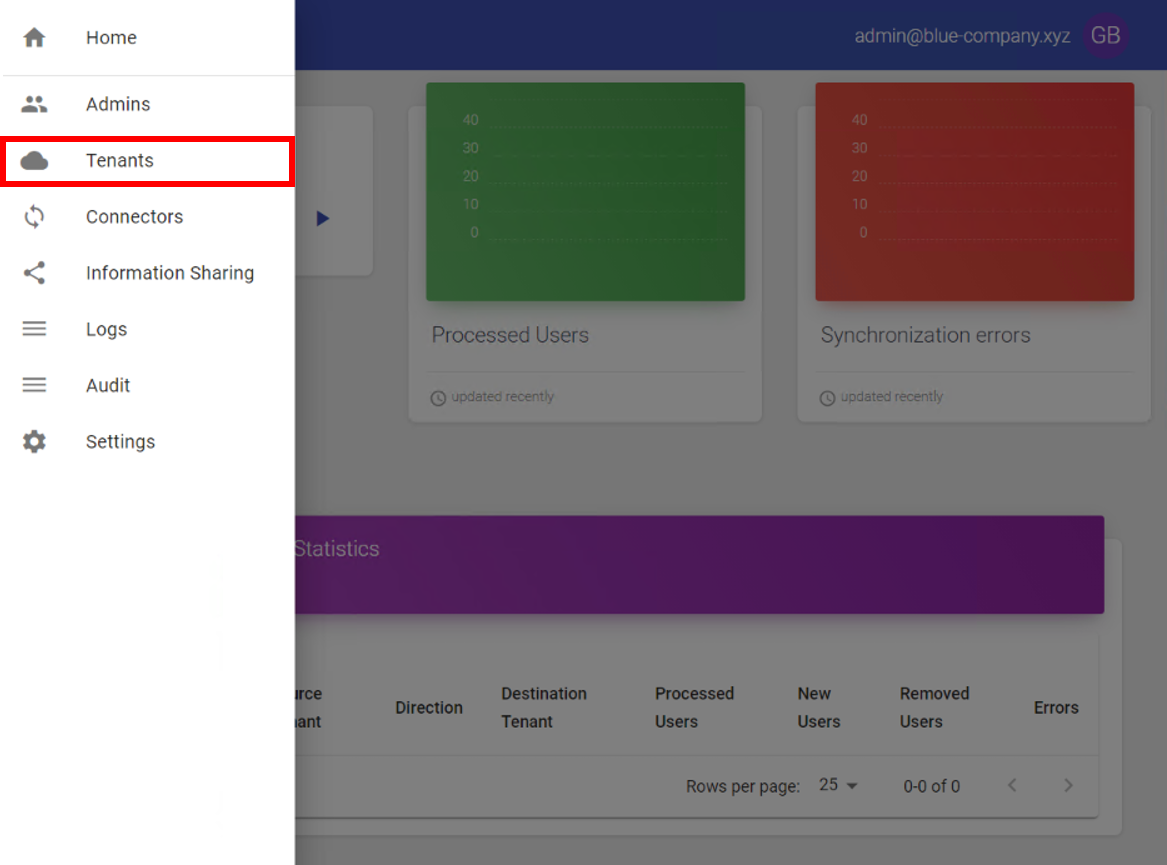
1. Go to Tenants and configure the tenants you would like to sync objects with (From or To) - (Also, we've created video for you for this step)

Please provide Organization Name & Tenant domain - and click "Create Azure Application / User"

Please fill the Username and Password and click "Create" button - if you don't have Global admin access click here.
- Make sure this user will not have MFA enabled (Link How to turn MFA off - here).

Once you've entered the details - you should get this message:
- Please copy the User & Password details (you could use the copy button we've created for you).

- Click the "Assign User" button and wait until it will finish it's process.
- Once finished - press "Grant Admin Consent" and please enter again your username and password to verify one last time.
Once finished those steps - click "Close" and you should get this screen:

We've created for you the option to select how you would like the display the username full name (Display Name) - please choose the relevant option.
(Don't forget to refill the Organization Name & Tenant domain).
Once finished click "Add" and you should see your new tenant like that:

You could edit or delete your tenant with the buttons on the right.
If you want to grant access to specific admin - press on the wanted tenant and you should get this screen:

click on the "+" button and choose the wanted admin from the list.
Contact Us
If you have any questions about this, please contact us:
By email: support@pro-vision.us